Google Docs is a versatile tool that offers a wide range of features for creating, editing, and formatting documents. One useful feature that many users may not be aware of is the ability to insert checkboxes into documents. Checkboxes can be handy for creating interactive forms, checklists, or surveys within Google Docs. In this comprehensive guide, we’ll walk you through the step-by-step process of inserting checkboxes in Google Docs, ensuring that you can harness the full potential of this feature for your document needs.
Understanding Checkboxes in Google Docs
Checkboxes are interactive elements that allow users to select or deselect options within a document. In Google Docs, checkboxes are often used for creating to-do lists, tracking tasks, or collecting responses in surveys or forms. When inserted into a document, checkboxes appear as small square boxes that can be clicked to toggle between checked and unchecked states.
Reasons for Using Checkboxes

There are several reasons why you might choose to use checkboxes in Google Docs:
- Task Tracking: Checkboxes can be used to create to-do lists or task lists, allowing users to track their progress and mark tasks as completed.
- Survey and Forms: Checkboxes are useful for creating interactive surveys or forms within Google Docs, where respondents can select multiple options from a list of choices.
- Data Collection: Checkboxes can be used to collect data or responses from users, such as preferences, interests, or feedback.
- Interactive Documents: Checkboxes add interactivity to documents, making them more engaging and user-friendly for readers.
Now that we understand the purpose of checkboxes, let’s explore how to insert them into Google Docs.
Step-by-Step Guide to Inserting Checkboxes in Google Docs
Inserting checkboxes in Google Docs is a simple process that can be done in a few easy steps:
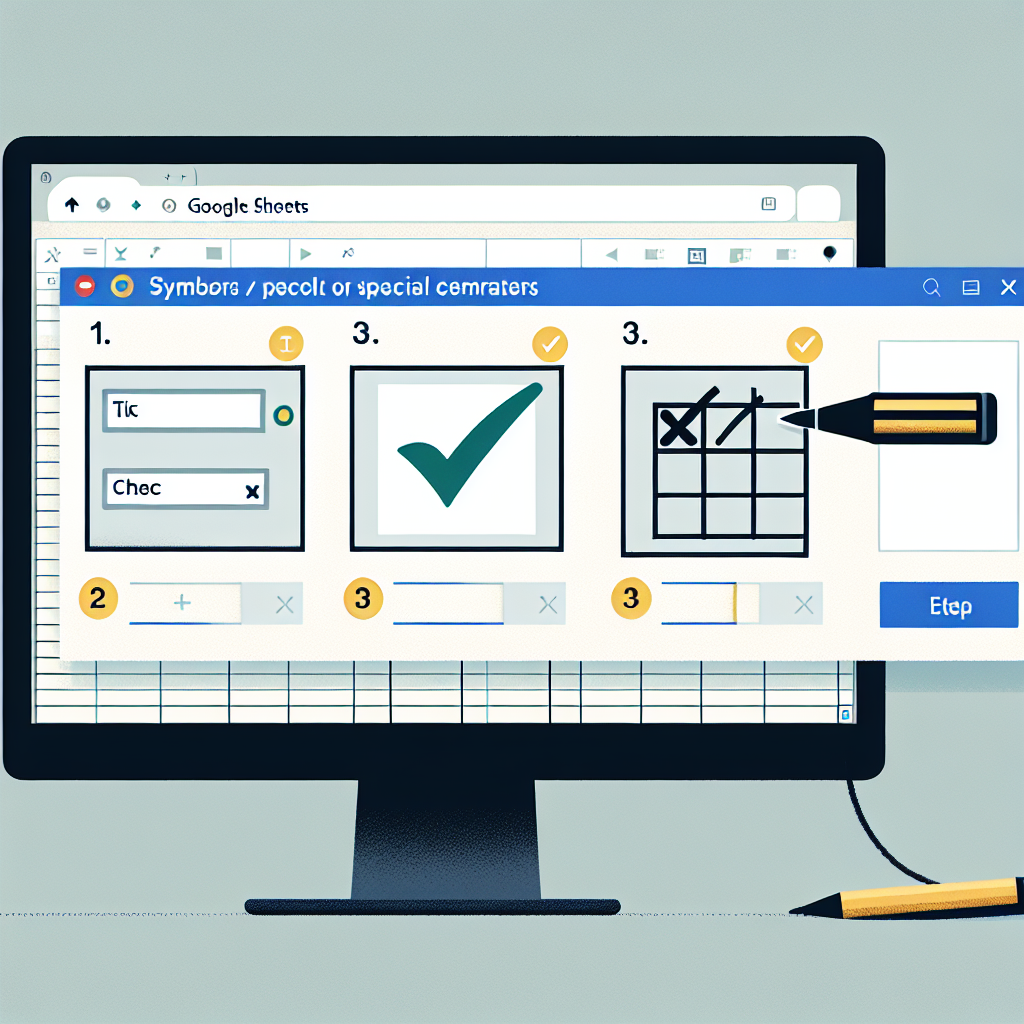
- Open Google Docs: Start by opening Google Docs in your web browser and creating a new document or opening an existing one where you want to insert checkboxes.
- Access the Bulleted List Option: Click anywhere in the document where you want to insert the checkboxes. Then, navigate to the toolbar at the top of the page and locate the “Bulleted list” icon. It looks like three dots arranged vertically with lines beside them.
- Choose the Checkbox Option: Click on the downward arrow next to the “Bulleted list” icon to reveal additional options. From the dropdown menu, select the “Checkbox” option. This will insert a checkbox into the document at the cursor’s location.
- Repeat as Needed: To insert additional checkboxes, simply click at the desired location in the document and follow the same process. You can insert as many checkboxes as you need for your document.
- Customize Checkbox Style (Optional): By default, Google Docs inserts a standard checkbox style. However, you can customize the appearance of the checkboxes using the formatting options available in Google Docs. For example, you can change the size, color, or alignment of the checkboxes to suit your preferences.
- Edit Checkboxes (Optional): After inserting the checkboxes, you can edit the text associated with each checkbox by clicking inside the checkbox and typing the desired text. This allows you to label the checkboxes with descriptive text or instructions.
- Toggle Checkbox States: Once inserted, users can click on the checkboxes to toggle between checked and unchecked states. This allows users to interact with the checkboxes and indicate their selections or responses.
Advanced Tips and Tricks

Now that you’ve mastered the basics of inserting checkboxes in Google Docs, here are some advanced tips and tricks to enhance your checkbox usage:
- Grouping Checkboxes: If you have multiple checkboxes that are related or belong to the same category, you can group them together using tables or text boxes. This helps organize the checkboxes and makes them easier to manage.
- Linking Checkboxes to Cells: You can link checkboxes to cells in Google Sheets, allowing you to track and analyze responses or selections in real-time. This is useful for creating dynamic documents or forms that update automatically based on user input.
- Using Checkboxes in Forms: Google Forms offers built-in support for checkboxes, making it easy to create interactive surveys or questionnaires with multiple-choice options. Consider using Google Forms if you need more advanced features for collecting and analyzing responses.
- Sharing and Collaboration: When collaborating on documents with others, be mindful of how checkboxes are used and interpreted by different users. Clearly label checkboxes and provide instructions or guidelines to ensure consistency and clarity.
Conclusion
Inserting checkboxes in Google Docs is a valuable feature that adds interactivity and functionality to your documents. Whether you’re creating to-do lists, surveys, forms, or interactive documents, checkboxes offer a simple and effective way to track selections and responses.
By following the step-by-step guide and incorporating advanced tips and tricks, you can harness the full potential of checkboxes in Google Docs and create documents that are interactive, engaging, and user-friendly.
Experiment with different styles, formats, and layouts to find the best approach for your specific document needs. With checkboxes at your disposal, you can streamline your workflow, track progress, and collect data with ease in Google Docs.